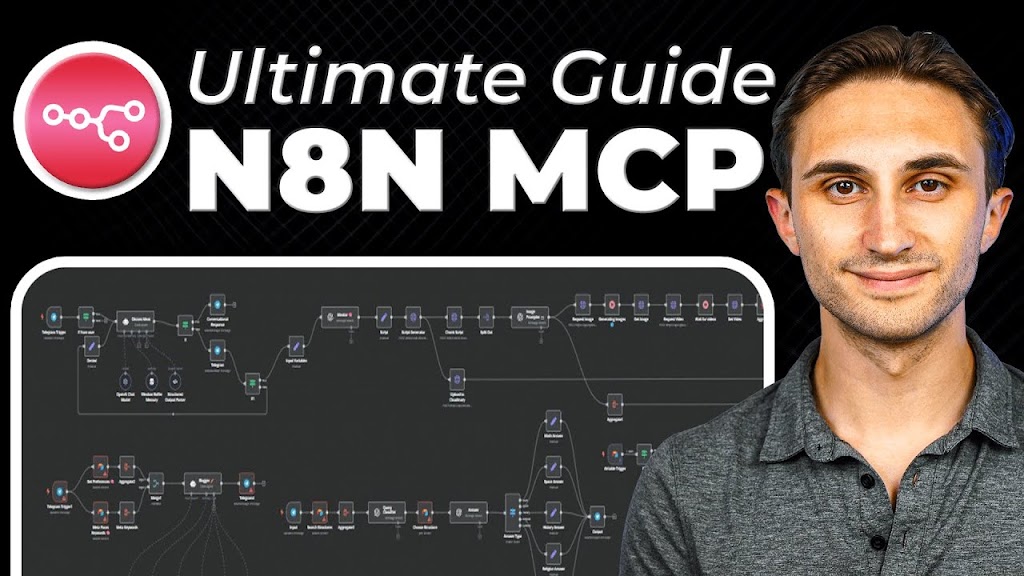
Based on a tutorial by YouTube Creator
Struggling to organize your AI agent tools in N8N? Feeling overwhelmed by the complexity of setting up proper communication between your agents and external services?
I’ve summarized this comprehensive tutorial to help you understand how to create and connect MCP servers in N8N, making your automation workflows more organized and efficient.
Quick Navigation
Understanding MCP Servers and Clients (00:00-03:30)
MCP servers in N8N allow you to organize your AI agent tools more efficiently. Instead of defining tools directly under your agent, you can bundle them into an MCP server for better structure and response quality.
Key Points:
- MCP architecture has two components: client side (AI agent) and server side (tools)
- The AI agent decides when to call the MCP server based on user requests
- MCP servers execute specific tasks like web scraping, database operations, or calendar management
- Once the task is complete, the MCP server returns results to the client for final response
My Take:
Think of the MCP structure as a clean separation of concerns – your AI agent handles conversation while delegating specialized tasks to purpose-built tools. This modular approach makes workflows easier to maintain and troubleshoot.
Setting Up Your N8N Environment (03:31-05:45)
Before creating your MCP server, you need to ensure you’re using the correct version of N8N that supports this functionality.
Key Points:
- Log into your N8N account and access the admin panel
- Click on the settings gear icon to access version settings
- Ensure you’re using N8N version 1.88 or higher
- Save changes and wait for the update to complete
- Return to the dashboard to begin creating your workflow
My Take:
Always check version compatibility before starting any complex automation project. This simple step can save hours of troubleshooting later when features don’t work as expected.
Creating Your First MCP Server (05:46-16:45)
Creating an MCP server starts with proper organization and naming conventions to keep your N8N workspace manageable as you build more automation systems.
Key Points:
- Create a new workflow and name it descriptively (e.g., “MCP server firecrawl”)
- Add tags like “MCP server” to categorize your workflows
- Add the MCP server trigger using the plus button
- The MCP server generates a webhook URL for external access
- Optional: Add authentication to protect your MCP server from unauthorized access
// Example structure of how tools connect to the MCP server
// (conceptual, not actual code)
MCPServer {
  trigger: webhook,
  tools: [
    webScraper,
    databaseConnector,
    calendarManager
  ],
  authentication: optional
}
My Take:
Establishing a clear naming convention from the start is crucial. As you build more automations, you’ll thank yourself for the organizational structure that makes finding and managing your MCP servers much easier.
Adding Web Scraping Tools with Firecrawl (16:46-28:10)
This section demonstrates how to connect Firecrawl’s web scraping API to your MCP server, creating tools that your AI agent can use to gather real-time information from websites.
Key Points:
- Firecrawl offers 500 free credits for testing web scraping functionality
- Configure HTTP request tools for each Firecrawl endpoint (scrape, crawl, map, extract)
- Use proper headers with content-type and authorization bearer tokens
- Store API keys securely using N8N’s credential system
- Configure the request body with JSON placeholders for dynamic inputs
// Example JSON body for Firecrawl scrape request
{
  "url": "{{url}}",
  "formats": ["markdown"]
}
My Take:
Always use the credential management system instead of hardcoding API keys directly in your requests. This not only improves security but makes it easier to update keys across multiple workflows when they expire or change.
Building the AI Agent Client (28:11-36:30)
Now that your MCP server is ready, it’s time to create the AI agent that will use it to respond to user requests. This agent will act as the client side of your MCP architecture.
Key Points:
- Create a new workflow for your scraping agent
- Add a chat trigger to test your agent directly in N8N
- Configure the AI agent with an OpenAI model (GPT-3.5-Turbo Mini recommended)
- Set up memory to maintain conversation context
- Connect the MCP client tool to your MCP server using the webhook URL
My Take:
When selecting an AI model, GPT-3.5-Turbo Mini offers a good balance between cost and accuracy. The tutorial notes that it produces fewer hallucinations than some other models, which is particularly important when the AI will be taking actions based on its understanding.
Testing Your MCP Server and Client (36:31-41:45)
The final step is testing your entire setup to ensure the AI agent can successfully communicate with your MCP server and use its tools to fulfill user requests.
Key Points:
- Save both workflows and make them active
- Open the chat interface and test with a web scraping request
- Review execution logs to verify proper functioning
- Add more tools to your MCP server by duplicating and modifying existing ones
- Test different capabilities like mapping site URLs and scraping specific pages
My Take:
Always start with simple test cases before expanding functionality. Confirming basic scraping works before adding more complex tools helps isolate issues and ensures a solid foundation for your automation.
This article summarizes the excellent tutorial created by YouTube Creator. If you found this summary helpful, please support the creator by watching the full video and subscribing to their channel.


